Final Piece
Gallery of Inspiration

Statement of Intent
My idea for my final piece is to create several triangular prisms made out of acetate with printed images on them. I will then tape them all together and drape them from a wall and photograph them. My aim for this piece is to create something larger and more complex than any of the projects I've worked on before. As a result, I want to make enough prisms to cover a large portion of the wall. After I have finished taking photographs, I may try to shine a light through the other side of the 'blanket' (I'm calling it this because I think the prisms will behave similarly to this once they are all taped together), to illuminate the blanket better. This will probably happen in a room with low light so that the lights are more effective. The final element to the blanket will be some cubes (similar to the folded one but with pictures on the sides instead of actual individually folded cubes) suspended from it by thread, made out of tracing paper. The inspiration behind this idea comes from an acetate cube that I made. However this time I will be making triangular prisms, seeing as they are the shapes Tolino more commonly works with.
Making the Nets

The first thing I had to do was make a net for my triangle shapes, seeing as the template I wanted didn't exist anywhere online. I made these by using right angled traingles and tabs. After I made the plain net, I filled it out with photographs.

I printed these out onto sheets of A3 acetate and tracing paper, with three per sheet. Then I cut these out and folded the sheets along the lines. After this was done, I secured the tabs using double sided tape so it wouldn't be clear where the traigles were glued, seeing as the tape was transparent. I then stuck all the triangles together using more tape, and assembled them all into a big blanket.

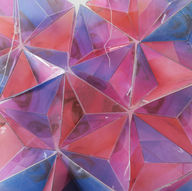
This close-up of the back of the blanket illustrates clearly how this was done. All the shiny strips along the edges of the acetate are the tape that I used to attach the traingles all together. The white thread introduces the next element of the project nicely: the cubes. In addition to the triangles, I also made some cubes out of acetate and tracing paper, both in colour and in black and white, which I attached to the blanket using white thread.
Chosen Images


Here are some examples of what the nets looked like printed out physically. On the left is the cube, and on the right is the traingle. I put the acetate against a white background so that the colour would be clearer to see, which is why they don't appear transparent here.
Once the cubes were assembled, I attached white thread to them and suspended them off of the surface of the traingles. I alternated the weight of each of the cubes so that the colured ones hung bellow the main body of the piece, and the black and white ones hung against it so that they would contrast it clearly. This contrast can be seen clearly in photographs of the piece.

This is the back of one of the cubes. You can see how I taped the thread to the back of the cube so that the cube would hang from the piece. I used double-sided tape and white thread to make both of these features as unnoticeable as possible. Using transparent tape makes it more difficult to see, and white tape blends into the white of the wall.
The Making-Of Gallery


Chosen Images

Here are all the images I took of my final piece and its various different forms. As you can see, I took photographs of it against a plain background, and with lights shining through. The most successful images have been circled in red, and the least successful crssed out.
Initial Set Up

These are my most successful images of the general set up. I took photographs of the piece from different angles (front on, close up, bellow). I hung the piece up by using white thread and a white wall hook. THis was so that the string and hanger wouldn't stand out and be too distracting.
Coloured Lights

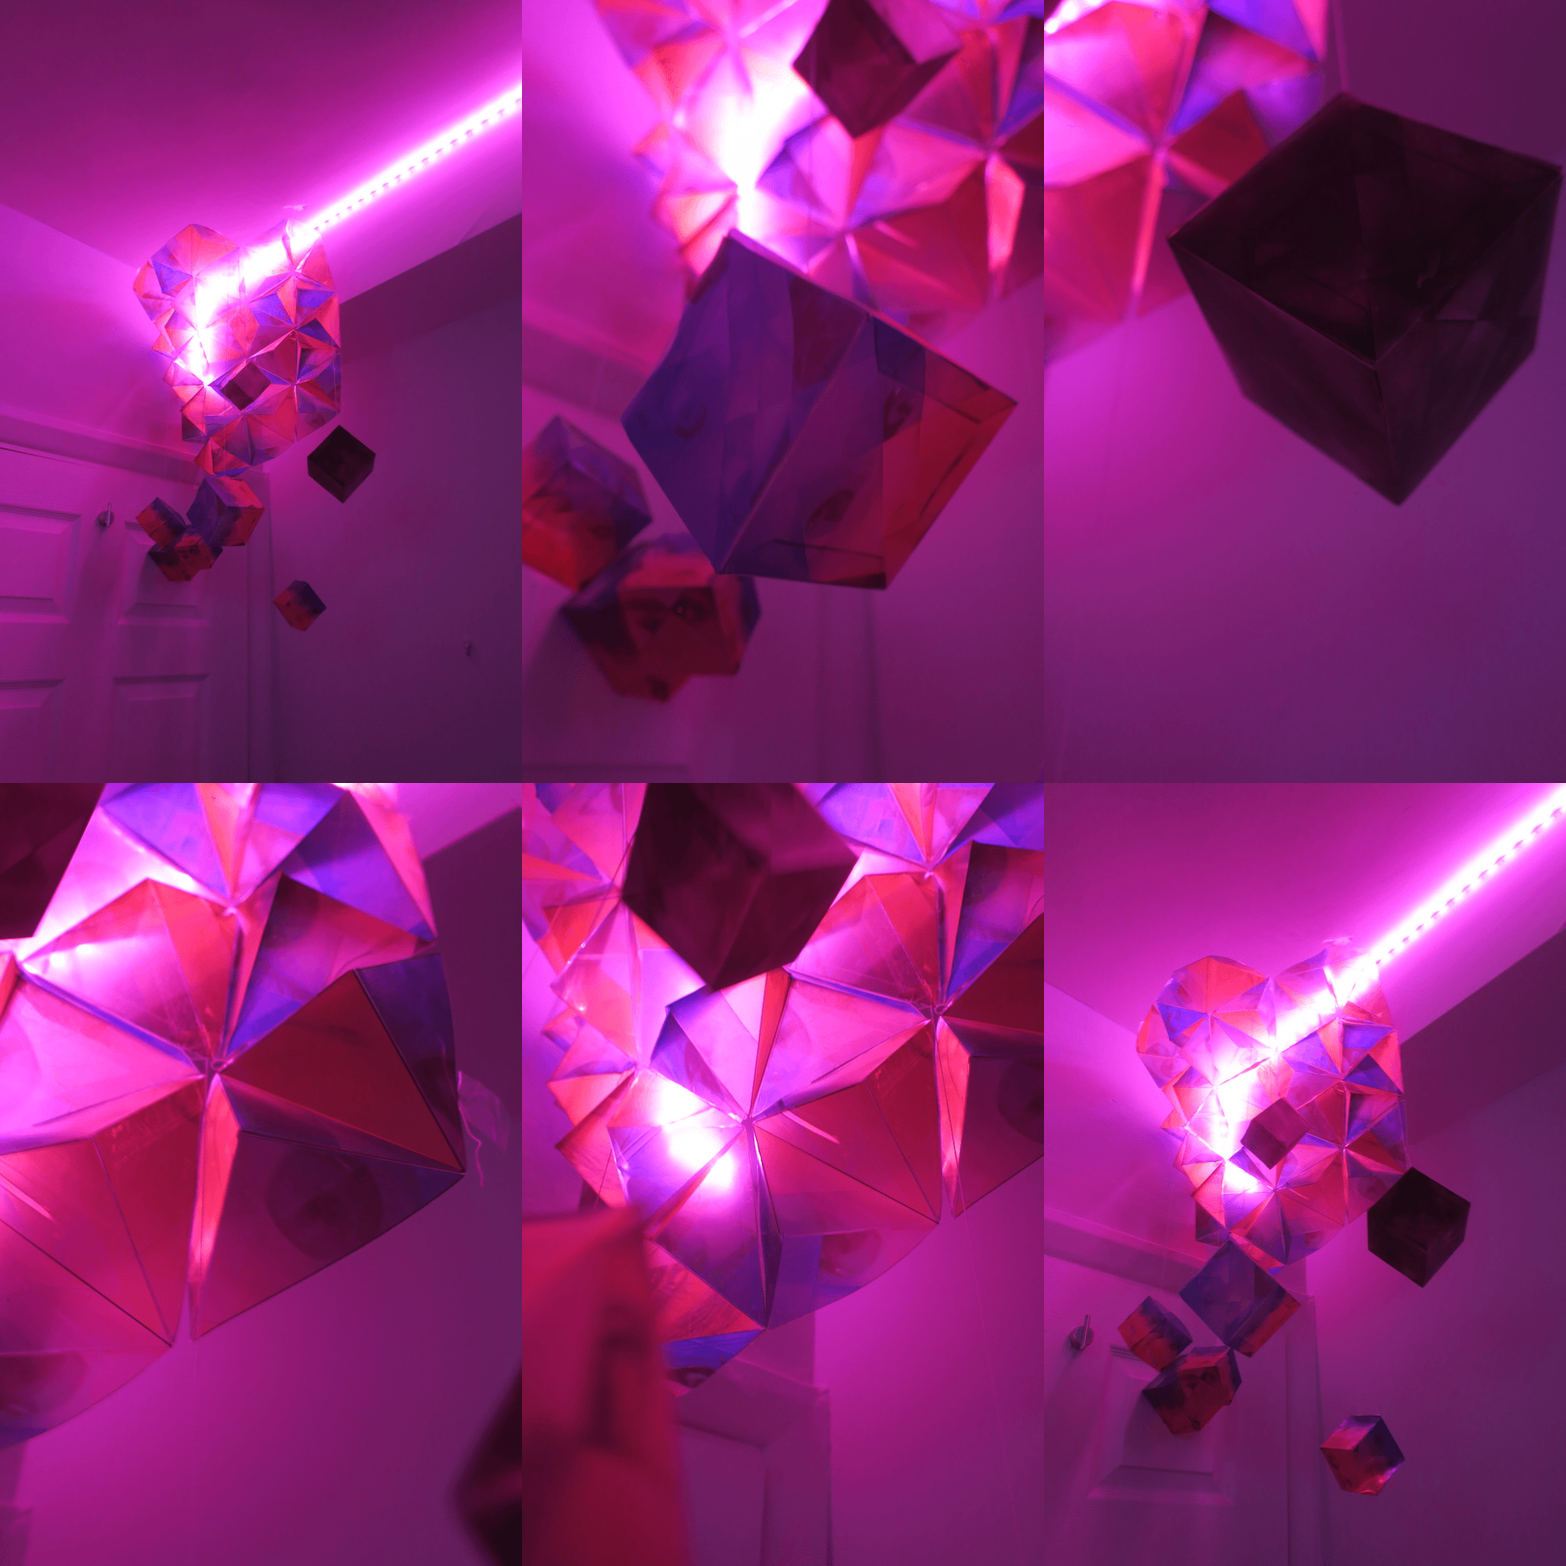
These are some photographs of what putting purple light behind my work looked like. I took some close-up and far-away photographs so that all of the angles could be seen. The work was suspended from my ceiling in front of the LEDs to allow room for the cubes to hang down.
Gif

Here is a GIF I made of the lit-up piece. I made this by taking photographs of the piece, getting slightly closer and moving slightly in each shot. Then, I uploaded all of the photographs into software that compiled them all into a GIF. The result was this GIF that shows different aspects of the piece (two cubes and a close up section of the traingle prisms).
I tried out several speed for the GIF but this is the one that I settled on as the others were all either too fast or too slow. This speed is about 50 fps (frames per second).
To end the GIF, I stepped back from the work, which is what gives the GIF this loop feel. It doesn't actually infinitely repeat, but stepping back helped to give it this effect.
Red Photographs

I took a few photographs with the lights turned red to see what it would look like. I really liked how these turned out as I think the red made it easier to identify the different shapes (the triangles and the cubes). . Overall, whilst I don't think they looked as good as the pink lights, they were certainly an interesting addition to the project.
Final Outcome

I chose this image to be the final outcome of the Identity project as I think it showcases a lot of what I learnt over it. This image is shot from bellow the final piece, meaning we're looking up at the cubes dangling down, as well as the traingles. In this image, all of the cubes can be seen (the coloured ones and the black and white ones. I really like how all the angles of the cubes and triangles can be seen clearly against the white background (something that I think was lost a bit in the business of the lit up photographs). This element reminds me a lot of Tolino's work with folding paper . Overall, I'm really pleased with how the piece turned out, as I was able to execute it just how I imagined it to look.


